 Vanoor
Guide
Draw a route with the Vanoor route planner
On this page
If you have no GPX file, you can draw the route on your iPhone. You tap points on the map, Vanoor joins them along streets and paths and counts the distance as you go, and the saved route goes to your Apple Watch like any imported file.
Step 1: Open the planner
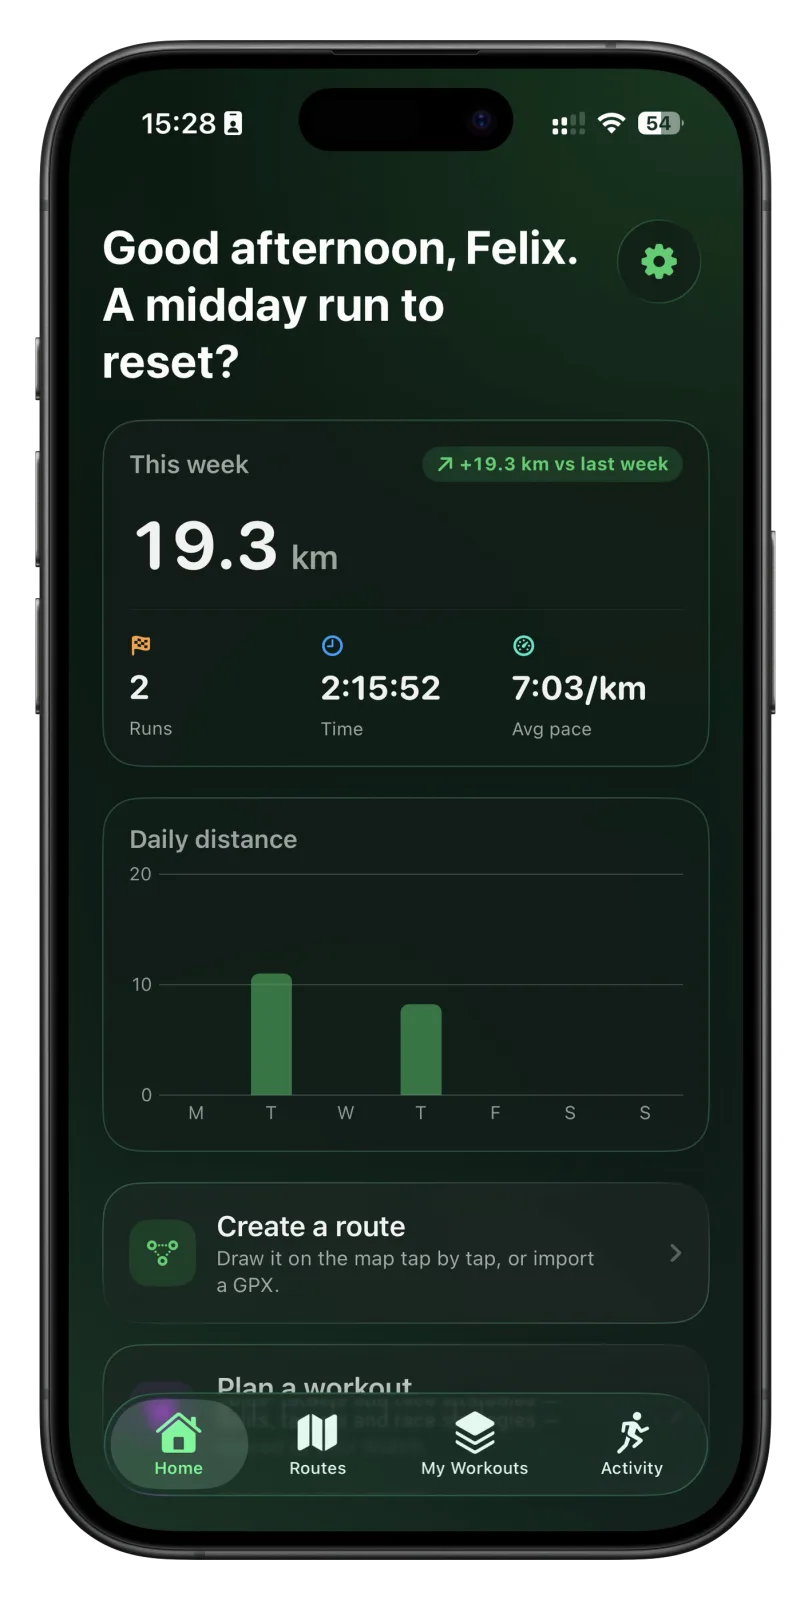
Go to the Routes tab, tap + in the top right corner and choose Create Route. The Create a route card on the Home tab opens the same screen, and so does the Create Route button on an empty Routes tab.
The first time, iOS asks whether Vanoor may use your location. Allow it so the locate button can centre the map on you.
Step 2: Find your start
Tap the locate arrow on the map to jump to where you are. To plan somewhere else, tap ••• in the bottom bar and choose Search Location, then search for a city, address, landmark or trailhead. Picking a result moves the map there without adding a point. The same menu switches between Satellite Map and Standard Map.
Step 3: Tap in the route
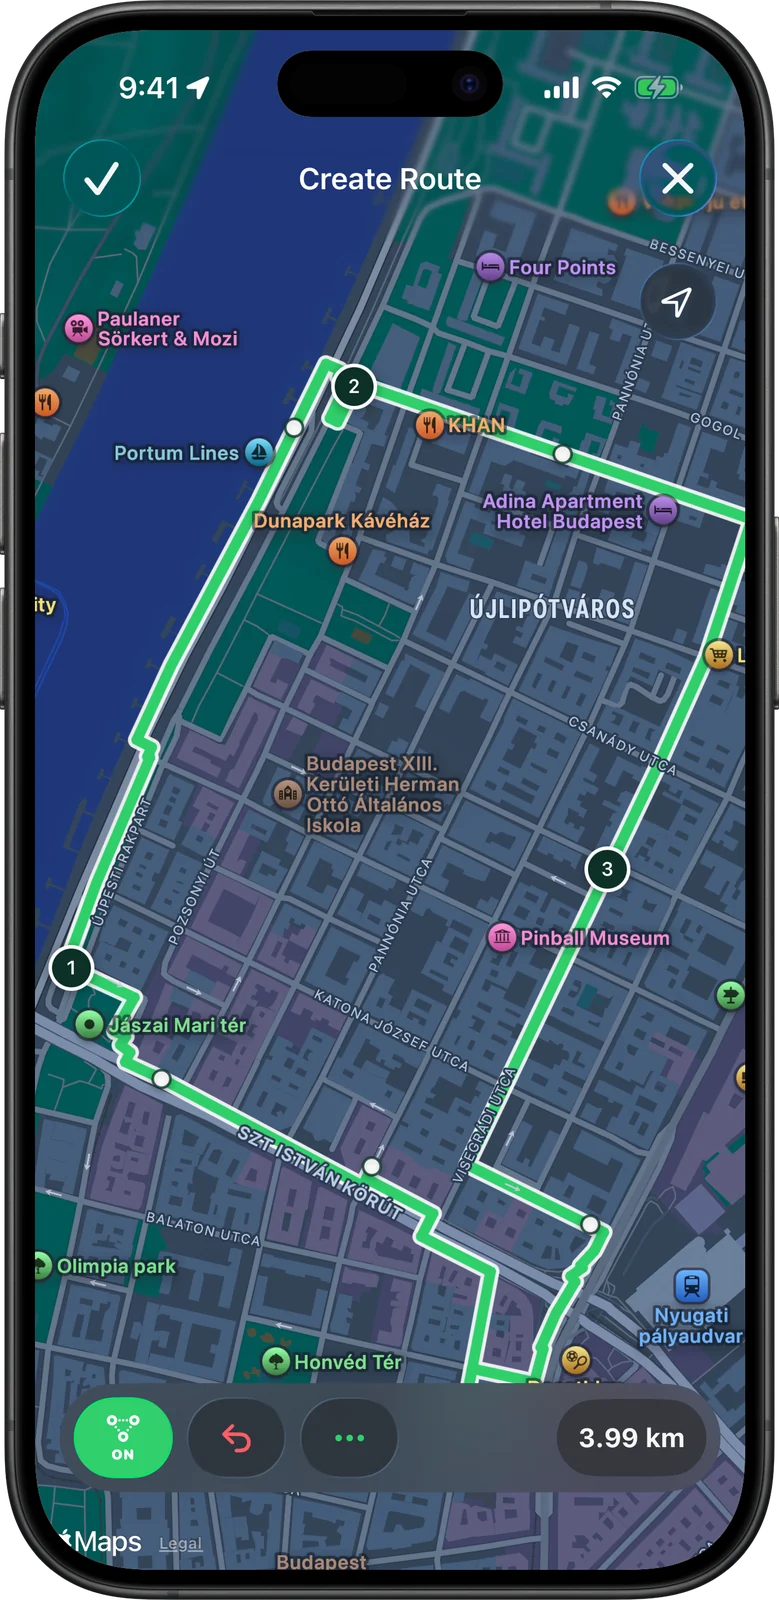
Your first tap sets the start. Every tap after that adds a leg from the previous point. With snapping on (the green button at the bottom left reads ON), Vanoor asks Apple Maps for a walking route, and the leg follows the streets and paths between your taps. It shows as a straight line for a moment while the route loads.
Tap the snap button to turn it OFF and the next legs are drawn as straight lines, which suits a field, a beach or a path Apple Maps does not know. You can switch it back on for the following leg.
A numbered marker appears at every kilometre, and the total distance sits at the right of the bottom bar.
Step 4: Undo, redo and close the loop
- The red undo button removes the last point and its leg.
- Redo in the ••• menu brings back what you undid.
- Close Loop in the same menu adds a leg from your last point back to the start, snapped if snapping is on. It needs at least three points.
- Clear Route removes every point after you confirm.
Step 5: Save it
Tap the tick in the top left once you have at least two points. The Save Route sheet asks for a route name and a type (Road, Trail or Mixed) and shows the distance and the number of waypoints. Tap the tick to save. The route joins your Routes list with the note "Created in Vanoor" and syncs to your Apple Watch automatically, as described in importing a GPX route.
The X in the top right leaves the planner. If you have placed points, Vanoor asks whether to discard the route or keep editing.
- A drawn route has no elevation data, so the elevation card on its page stays empty. The Watch still records the climb during your run.
- Snapping and search both use Apple Maps and need an internet connection. Straight legs work without one.
- With offline maps switched on, a drawn route gets its map tiles the same way an imported one does. The guide to offline maps for running covers how that works.
If something goes wrong
- "No walkable route found. Turn Snap off to draw this leg directly." Apple Maps found no walking route to that point, so the tap was not kept. Turn snapping off and tap again, or place the point on a path.
- "This route already ends at its start." Close Loop has nothing to add because your last point is already at the start.
- Search shows "Search unavailable". Check your internet connection and try again.
- The locate button does nothing. Check that Vanoor has permission to use your location in the iPhone's Settings.
Related guides
Picked by shared topics.


Keep the Watch. Upgrade the run.
Vanoor: offline route navigation, race pacing and structured workouts on the Apple Watch you already own.
Get Vanoor on the App Store 7-day free trial · $9.99 once, no subscription · no account